RemoteIoT Web SSH Tutorial: Your Ultimate Guide To Secure Remote Access
Imagine this—you’re sitting in your cozy living room, sipping coffee, and suddenly you realize you need to check something on your server located miles away. What do you do? Panic? Nope. You pull out your laptop, open a browser, and boom—you’re connected through RemoteIoT Web SSH. Sounds cool, right?
In today’s fast-paced digital world, remote access has become more than just a convenience; it’s a necessity. Whether you’re a tech-savvy developer, a network administrator, or even a curious beginner, understanding how to use RemoteIoT Web SSH can save you tons of time and effort. But hold on, before we dive into the nitty-gritty, let’s take a moment to appreciate why this technology is so awesome.
RemoteIoT Web SSH isn’t just another tool—it’s a game-changer. By combining the power of SSH with the accessibility of a web interface, it allows you to manage servers, troubleshoot issues, and perform routine tasks without needing a dedicated SSH client. Sounds like magic? Let’s unravel the mystery together.
Read also:Unlocking The Secrets Of Masa49 A Comprehensive Guide
What is RemoteIoT Web SSH Anyway?
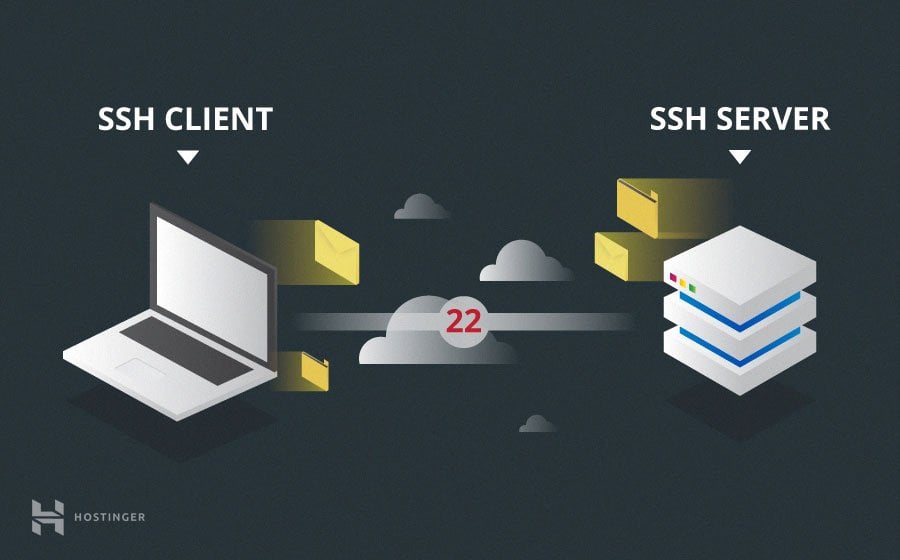
So, what exactly is RemoteIoT Web SSH? Think of it as a bridge between you and your remote server. Instead of relying on traditional SSH clients like PuTTY or Terminal, RemoteIoT Web SSH lets you connect to your server directly from your browser. No downloads, no installations—just pure simplicity.
Here’s the kicker: it’s not just about convenience. It’s about security too. SSH stands for Secure Shell, which means all your data is encrypted during transmission. That’s a big deal when you’re dealing with sensitive information. Plus, RemoteIoT Web SSH supports modern authentication methods, ensuring that only authorized users can access your server.
Now, let’s break it down further. Why should you care about RemoteIoT Web SSH? Well, here’s a quick rundown:
- Easy to set up and use
- Accessible from any device with a browser
- Highly secure with end-to-end encryption
- Supports multi-factor authentication
- Perfect for both beginners and advanced users
Why Choose RemoteIoT Over Other Tools?
There are tons of tools out there for remote server management, but RemoteIoT stands out for several reasons. First off, its web-based interface eliminates the need for clunky desktop applications. Second, it’s incredibly lightweight, meaning it won’t slow down your system. And third, it’s super customizable, allowing you to tailor the experience to your specific needs.
Plus, RemoteIoT offers a range of features that other tools simply can’t match. From real-time monitoring to automated backups, it’s got everything you need to keep your server running smoothly. And the best part? It’s completely free for personal use. Who doesn’t love that?
Setting Up RemoteIoT Web SSH: Step by Step
Ready to get started? Setting up RemoteIoT Web SSH is easier than you think. Follow these simple steps, and you’ll be up and running in no time.
Read also:Yomovies1 Your Ultimate Streaming Destination
Step 1: Install the RemoteIoT Package
The first thing you need to do is install the RemoteIoT package on your server. Don’t worry—it’s not as complicated as it sounds. Most Linux distributions come with package managers like apt or yum, making the installation process a breeze.
Here’s how you do it:
- Log in to your server via SSH using your preferred client
- Run the command
sudo apt updateto update your package list - Install RemoteIoT using
sudo apt install remoteiot
And just like that, you’re done! Well, almost. Let’s move on to the next step.
Step 2: Configure the Web Interface
Now that RemoteIoT is installed, it’s time to configure the web interface. This is where the magic happens. By default, RemoteIoT runs on port 8080, but you can change that if you want. Just edit the configuration file using your favorite text editor.
Here’s a quick guide:
- Open the config file with
sudo nano /etc/remoteiot/config.json - Change the port number if necessary
- Save and exit by pressing Ctrl + X, then Y, and Enter
Once you’ve made the changes, restart the service to apply them. Use the command sudo systemctl restart remoteiot to do this. Easy peasy, right?
Connecting to Your Server with RemoteIoT Web SSH
Alright, so you’ve installed and configured RemoteIoT. Now it’s time to connect to your server. This is the fun part! All you need is a web browser and the IP address of your server.
Step 1: Access the Web Interface
Open your browser and type in the server’s IP address followed by the port number. For example, if your server’s IP is 192.168.1.100 and you’re using the default port, the URL would be http://192.168.1.100:8080. Hit Enter, and voilà—you’re in!
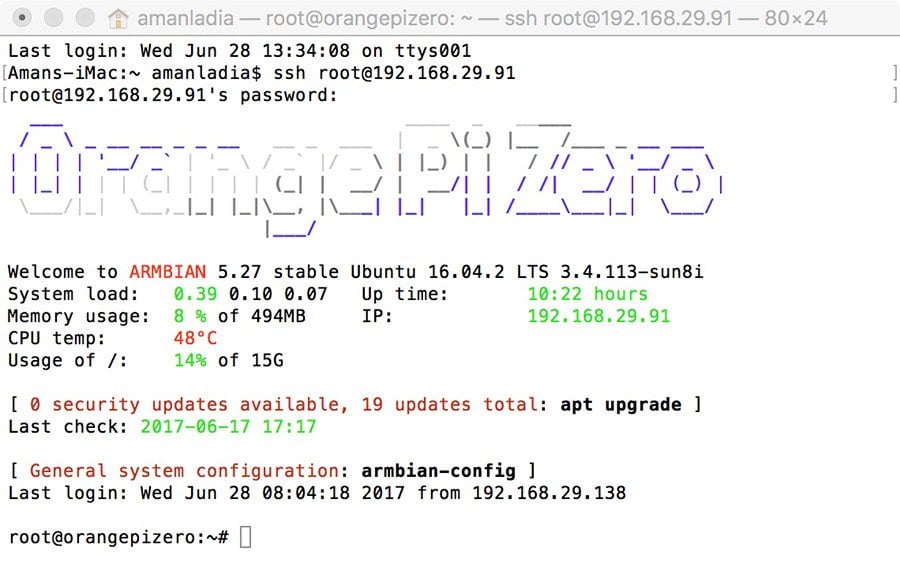
At this point, you’ll be prompted to log in. Enter your SSH credentials, and you’ll be greeted with a beautiful terminal interface. It’s like having a command line right in your browser. How cool is that?
Step 2: Start Exploring
Once you’re logged in, the possibilities are endless. You can navigate directories, run commands, and even edit files—all from the comfort of your browser. Need to check the status of a service? Just type systemctl status. Want to update your packages? Use apt update. It’s that simple.
And if you’re feeling adventurous, you can even set up a cron job or configure a firewall. The sky’s the limit!
Tips and Tricks for Using RemoteIoT Web SSH
Now that you know the basics, let’s talk about some advanced tips and tricks to make your RemoteIoT experience even better.
Tip 1: Use Bookmarks for Quick Access
Why waste time typing in the same URL every time you want to connect? Use your browser’s bookmark feature to save the address. That way, you can access your server with a single click. Genius, right?
Tip 2: Enable Two-Factor Authentication
Security should always be a top priority. To add an extra layer of protection, enable two-factor authentication (2FA) for your RemoteIoT account. This ensures that even if someone gets hold of your password, they won’t be able to access your server without the second factor.
Here’s how you do it:
- Log in to your RemoteIoT interface
- Navigate to the settings page
- Enable 2FA and scan the QR code with your authenticator app
- Save the recovery codes in a secure location
Boom! You’re now doubly secure.
Tip 3: Customize Your Terminal Theme
Let’s face it—default themes can be boring. Why not spice things up a bit? RemoteIoT allows you to customize your terminal theme to match your personality. Whether you prefer a dark mode or a vibrant color scheme, the choice is yours.
To change your theme:
- Go to the settings page
- Select the theme option
- Choose your favorite preset or create a custom one
And just like that, your terminal is ready for prime time.
Common Issues and How to Fix Them
Even the best tools can have hiccups. If you encounter any issues while using RemoteIoT Web SSH, don’t panic. Here are some common problems and their solutions:
Problem 1: Can’t Connect to the Server
If you can’t connect to your server, the first thing to check is the IP address and port number. Make sure they’re correct and that the server is running. You can also try restarting the RemoteIoT service using sudo systemctl restart remoteiot.
Problem 2: Slow Performance
Sometimes, RemoteIoT can feel a bit sluggish. This is usually due to network latency or server load. To improve performance, try using a wired connection instead of Wi-Fi. You can also optimize your server by clearing unnecessary processes.
Problem 3: Lost Password
Forgot your SSH password? No worries. You can reset it by logging in to your server via a traditional SSH client and using the passwd command. Just make sure to update your credentials in RemoteIoT afterward.
Real-World Applications of RemoteIoT Web SSH
So, how can you use RemoteIoT Web SSH in real life? The answer is: in tons of ways! Here are just a few examples:
Application 1: Remote Server Management
Whether you’re managing a small business server or a large data center, RemoteIoT Web SSH makes your life easier. You can monitor server performance, install updates, and troubleshoot issues—all from your laptop or even your phone.
Application 2: IoT Device Control
With the rise of the Internet of Things (IoT), controlling devices remotely has become increasingly important. RemoteIoT Web SSH allows you to manage IoT devices like Raspberry Pi or Arduino from anywhere in the world. Say goodbye to physical access requirements!
Application 3: Emergency Access
Sometimes, you just need to access your server quickly. Maybe you’re traveling or working from a coffee shop. RemoteIoT Web SSH gives you that peace of mind, knowing you can always reach your server when you need to.
Security Best Practices for RemoteIoT Web SSH
Security is key when it comes to remote access. Here are some best practices to keep your RemoteIoT Web SSH setup safe:
- Use strong, unique passwords
- Enable two-factor authentication
- Limit access to trusted IP addresses
- Regularly update your server and RemoteIoT package
- Monitor login attempts for suspicious activity
By following these guidelines, you can significantly reduce the risk of unauthorized access and keep your data safe.
Conclusion: Embrace the Future of Remote Access
And there you have it—your ultimate guide to RemoteIoT Web SSH. From installation to troubleshooting, we’ve covered everything you need to know to get started. But remember, this is just the beginning. The possibilities with RemoteIoT are endless, and the more you explore, the more you’ll discover.
So, what are you waiting for? Dive in, experiment, and make the most of this amazing tool. And don’t forget to share your experiences with the community. The more we learn from each other, the better we become. Happy coding, and see you in the cloud!
Call to Action: Leave a comment below and let us know how RemoteIoT Web SSH has changed your workflow. Or, if you’re new to this, tell us what questions you have. We’d love to hear from you!
Table of Contents
- What is RemoteIoT Web SSH Anyway?
- Why Choose RemoteIoT Over Other Tools?
- Setting Up RemoteIoT Web SSH: Step by Step
- Connecting to Your Server with RemoteIoT Web SSH
- Tips and Tricks for Using RemoteIoT Web SSH
- Common Issues and How to Fix Them
- Real-World Applications of RemoteIoT Web SSH
- Security Best Practices for RemoteIoT Web SSH
- Conclusion: Embrace the Future of Remote Access

