Mastering Control Raspberry Pi Behind Router: The Ultimate Guide
Imagine this: You've just set up your Raspberry Pi, and you're eager to access it remotely—but wait, there's a pesky router in the way. Don't panic! Controlling Raspberry Pi behind a router isn't as complicated as it sounds. In fact, with the right steps, you'll be up and running in no time. Whether you're a tech enthusiast or just starting out, this guide will walk you through everything you need to know about controlling Raspberry Pi behind a router.
So, why is controlling Raspberry Pi behind a router such a big deal? Well, if you're planning to use your Raspberry Pi as a home server, media center, or even a smart home hub, remote access is essential. But routers can sometimes act like gatekeepers, blocking external connections. Fear not—we're here to help you navigate through those barriers and make your Raspberry Pi accessible from anywhere.
This guide is packed with practical tips, step-by-step instructions, and real-world examples to ensure you master the art of controlling Raspberry Pi behind a router. So grab a cup of coffee, sit back, and let's dive into the world of Raspberry Pi networking!
Read also:Angmaal The Hidden Gem Of Financial Empowerment You Need To Know
Here’s a quick overview of what we’ll cover:
- Understanding the basics of Raspberry Pi networking
- Setting up port forwarding for seamless access
- Using SSH and VNC for remote control
- Troubleshooting common issues
- Best practices for security
Table of Contents
- Understanding Raspberry Pi Behind Router
- Setting Up Your Raspberry Pi
- Port Forwarding: The Key to Accessibility
- Remote Access Methods
- Using SSH for Secure Connections
- VNC: Visual Remote Control
- Dynamic DNS for Easy Access
- Securing Your Raspberry Pi
- Troubleshooting Common Issues
- Wrapping It Up
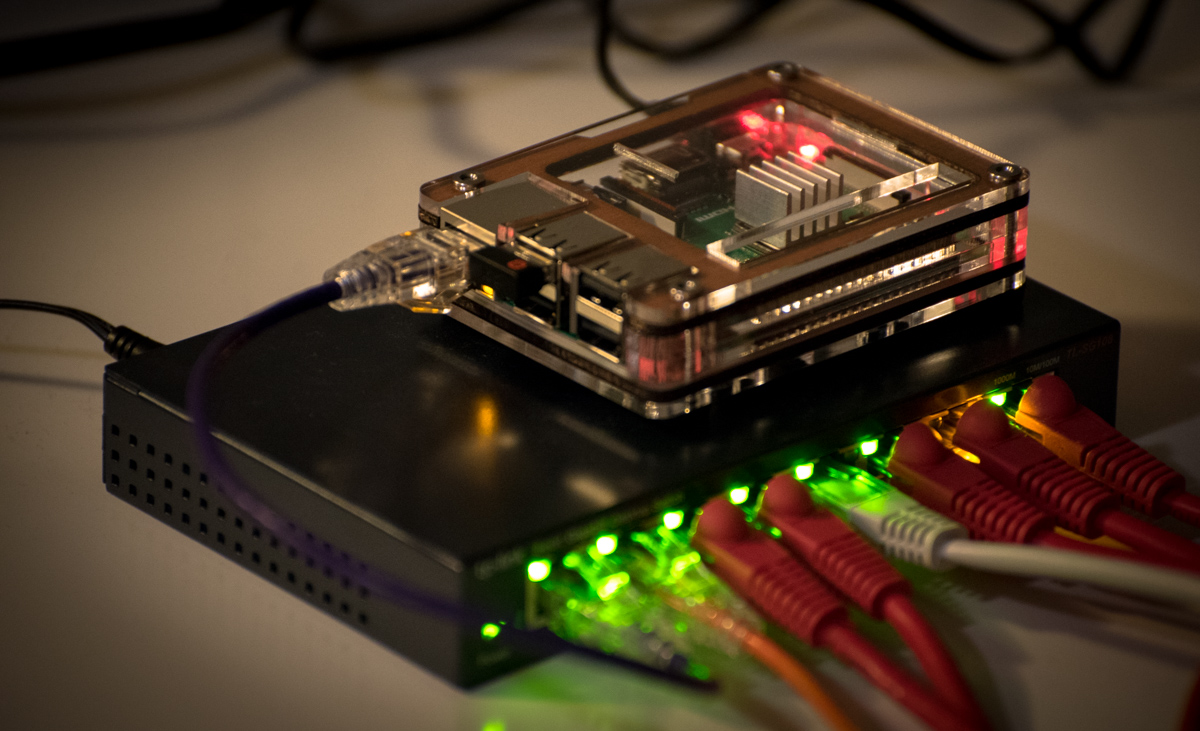
Understanding Raspberry Pi Behind Router
Alright, let's start with the basics. When we talk about controlling Raspberry Pi behind a router, we're essentially discussing how to access your Pi remotely, even when it's connected to a local network. A router acts as a barrier between your internal network and the outside world. While this is great for security, it can make remote access a bit tricky.
What Does "Behind Router" Mean?
When your Raspberry Pi is "behind a router," it means it's part of a local area network (LAN) managed by the router. The router assigns private IP addresses to devices on the network, which are not directly accessible from the internet. To access your Pi from outside the network, you need to configure your router to allow external connections.
Think of it like this: your router is the bouncer at a club, and your Raspberry Pi is one of the guests. If someone outside the club wants to talk to your Pi, the bouncer (router) needs to know where to direct them. That's where port forwarding comes in, but more on that later.
Setting Up Your Raspberry Pi
Before we dive into the nitty-gritty of controlling Raspberry Pi behind a router, let's make sure your Pi is set up properly. This step is crucial because a well-configured Pi makes remote access much easier.
Step 1: Install an Operating System
First things first, you need to install an operating system on your Raspberry Pi. The most popular choice is Raspberry Pi OS, but you can also use other lightweight Linux distributions if you prefer. Make sure your OS is up to date by running:
Read also:Hdhub4u List Bollywood Movies Your Ultimate Guide To Bollywood Cinematic Bliss
sudo apt updatesudo apt upgrade
Step 2: Configure Static IP Address
A static IP address ensures that your Pi always has the same address on your local network. This is important because dynamic IP addresses can change, making remote access unreliable.
Here's how you can set a static IP:
- Open the terminal on your Pi.
- Edit the
/etc/dhcpcd.conffile using nano:sudo nano /etc/dhcpcd.conf. - Add the following lines at the end of the file:
interface eth0
static ip_address=192.168.1.100/24
static routers=192.168.1.1
static domain_name_servers=192.168.1.1
Port Forwarding: The Key to Accessibility
Now that your Pi is set up, it's time to tackle the router. Port forwarding is the process of configuring your router to direct incoming traffic to a specific device on your network—in this case, your Raspberry Pi.
Why Is Port Forwarding Important?
Port forwarding allows you to bypass the router's firewall and grant external access to your Pi. Without it, your router will block all incoming connections, making remote access impossible.
Here's a simple analogy: imagine your router is a post office, and your Pi is one of the mailboxes. Port forwarding is like telling the post office to deliver all letters addressed to "Raspberry Pi" to the correct mailbox.
Remote Access Methods
Once you've set up port forwarding, it's time to explore the various methods for accessing your Raspberry Pi remotely. Two of the most popular options are SSH and VNC.
SSH: Command-Line Access
SSH (Secure Shell) allows you to access your Pi's command-line interface from another computer. It's lightweight, secure, and perfect for tasks like file management and script execution.
To enable SSH on your Pi, run:
sudo raspi-config- Navigate to "Interfacing Options"> "SSH"> "Enable."
VNC: Visual Remote Control
If you prefer a graphical interface, VNC (Virtual Network Computing) is the way to go. VNC lets you control your Pi's desktop remotely, just like sitting in front of it.
To set up VNC:
- Install the VNC server:
sudo apt install realvnc-vnc-server. - Enable VNC:
sudo raspi-config> "Interfacing Options"> "VNC"> "Enable."
Using SSH for Secure Connections
SSH is a powerful tool for controlling Raspberry Pi behind a router. It's secure, efficient, and easy to use once you get the hang of it.
Connecting via SSH
Here's how you can connect to your Pi using SSH:
- From a Windows machine, download and install PuTTY.
- Enter your Pi's public IP address and the SSH port number (usually 22).
- Log in using your Pi's username and password.
For macOS or Linux users, you can use the built-in terminal:
ssh username@public_ip
VNC: Visual Remote Control
VNC provides a visual interface for controlling your Raspberry Pi remotely. It's perfect for tasks that require a graphical environment, such as browsing the web or using graphical applications.
Connecting via VNC
To connect to your Pi using VNC:
- Download the VNC Viewer app on your computer or mobile device.
- Enter your Pi's public IP address and the VNC port number (usually 5900).
- Log in using your Pi's credentials.
Dynamic DNS for Easy Access
Public IP addresses assigned by your ISP can change over time, making it difficult to access your Pi remotely. Dynamic DNS (DDNS) solves this problem by providing a stable domain name that updates automatically when your IP changes.
Setting Up Dynamic DNS
Here's how you can set up DDNS:
- Sign up for a DDNS service like No-IP or Dynu.
- Install the DDNS client on your router or Pi.
- Configure the client to update your domain name whenever your IP changes.
Securing Your Raspberry Pi
With great power comes great responsibility. When you open up your Raspberry Pi to the outside world, it's important to take security seriously. Here are some best practices to keep your Pi safe:
- Change Default Credentials: Never use the default username and password for your Pi.
- Use Strong Passwords: Make sure your passwords are long and complex.
- Enable Two-Factor Authentication: Add an extra layer of security by requiring a second form of verification.
- Update Regularly: Keep your OS and software up to date to protect against vulnerabilities.
Troubleshooting Common Issues
Even with the best preparation, things can sometimes go wrong. Here are some common issues you might encounter when controlling Raspberry Pi behind a router, along with solutions:
Issue 1: Unable to Connect via SSH
Solution: Double-check your port forwarding settings and ensure SSH is enabled on your Pi.
Issue 2: VNC Connection Fails
Solution: Verify that VNC is running on your Pi and that the correct port is forwarded on your router.
Issue 3: Dynamic DNS Not Updating
Solution: Ensure your DDNS client is properly configured and running. Check your router's logs for any errors.
Wrapping It Up
Controlling Raspberry Pi behind a router might seem daunting at first, but with the right tools and knowledge, it's completely achievable. By setting up port forwarding, using SSH or VNC, and securing your Pi, you can access your device from anywhere in the world.
Remember, the key to success is preparation and attention to detail. Take your time to configure your router and Pi properly, and don't hesitate to troubleshoot if things don't work as expected.
Now that you've mastered the art of controlling Raspberry Pi behind a router, why not share your newfound knowledge with others? Leave a comment below or check out our other guides for more Raspberry Pi tips and tricks. Happy tinkering!


